QEMU
There’s an experimental QEMU image available that includes:
- phosh: phone graphical shell
- Common apps: geary, ephiphany, contacts, calls
- phone / network services: NetworkManager, ModemManager, …
Linux Environments
Open the Jenkins job building QEMU images on the CI server: https://arm01.puri.sm/job/Images/job/Image%20Build/
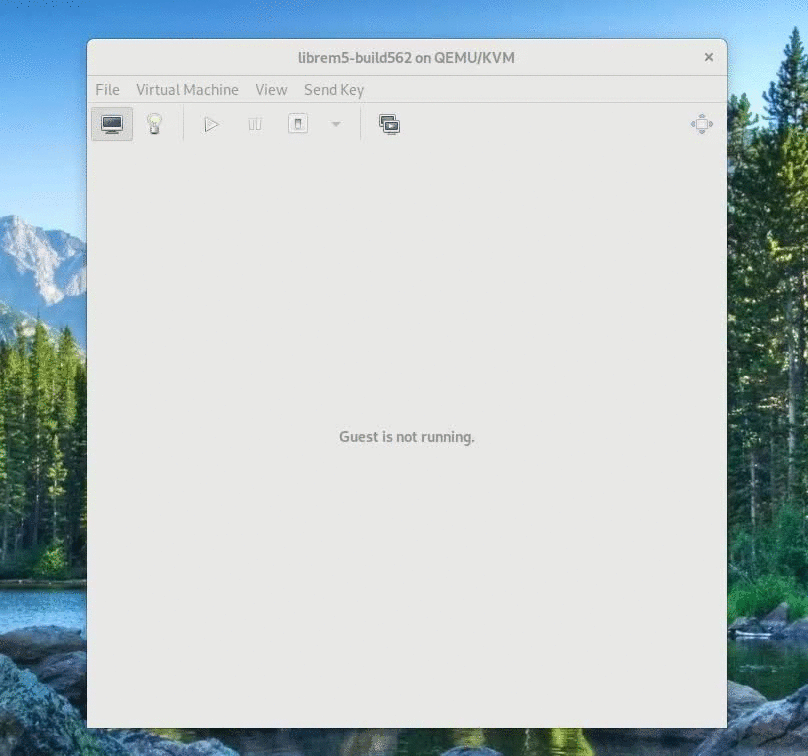
Find the latest successful build which has the description qemu-x86_64.qcow2, see build 562 for example.
Download the build artifact called
qemu-x86_64.qcow2. For the build numbered562, it’s at the following URL:$ wget https://arm01.puri.sm/job/Images/job/Image%20Build/562/artifact/qemu-x86_64.qcow2
- Required software:
You can use any virtualization application that will create a VM from a qcow2 to run this image.
GNOME Boxes - On PureOS, gnome-boxes is already installed and can be used right away. - Create a new Box from archive selecting qemu-x86_64.qcow2
Virt-manager - On PureOS, you would need to install virt-manager:
$ sudo apt install virt-manager
- Create a new virtual machine from your archive selecting qemu-x86_64.qcow2
Command Line You can also run the qcow2 VM from the command line:
$ sudo qemu-system-x86_64 -boot menu=on -drive file=qemu-x86_64.qcow2,format=qcow2 -vga virtio -display gtk -m 1G -enable-kvm
- Use it (password is 123456):
Microsoft Windows
Open the Jenkins job building QEMU images on the CI server: https://arm01.puri.sm/job/Images/job/Image%20Build/
Find the latest successful build which has the description qemu-x86_64 image, e.g. https://arm01.puri.sm/job/Images/job/Image%20Build/172/
Save the build by right-clicking on the file called
qemu-x86-64.imgand choosing “Save As”.Choose a folder on your computer with 4gb of free space.
After the download is complete, extract the file with 7zip or other untar program.
Open an instance of PowerShell and navigate to the extracted file’s folder.
The following command can be executed in PowerShell after modifying the path to the qemu executable and the path to the downloaded qemu-x86-64.img file.:
C:\Program Files\qemu\qemu-system-x86_64.exe -drive file=c:\downloads\qemu-x86_64.img,index=0,media=disk,format=raw -vga virtio -display sdl,gl=off -m 2G -L Bios -boot menu=on -rtc base=localtime,clock=host -parallel none -serial none -name PureOS -no-reboot
- Note: You may also download and modify the following PowerShell script for your environment. The file can executed on the command line, or by right-clicking launch-librem5.ps1 file from file explorer. The script is fully commented to explain the command line variables that are used.
PowerShell script: launch-librem5.ps1
Expanding the Filesystem
The qcow2 image is built such that with a simple command, you can resize the root filesystem to fill the partitioned space.
Note
In this example, the filesystem to be resized is /dev/vda2 but it will depend on your host (could be /dev/sda2 or something similar).
Before the rootfs is resized, df -h will show you that /dev/vda2 has a size of 3.1Gb. To grow the partition, resize the /dev/vda2 partition and then check df -h again to see that it is now 31Gb:
purism@pureos:~$ sudo resize2fs /dev/vda2
resize2fs 1.44.4 (18-Aug-2018)
Filesystem at /dev/vda2 is mounted on /; on-line resizing required
old_desc_blocks = 1, new_desc_blocks = 4
The filesystem on /dev/vda2 is now 8172342 (4k) blocks long.

purism@pureos:~$ df -h /
Filesystem      Size  Used Avail Use% Mounted on
/dev/vda2        31G  2.2G   28G   8% /
Now your additional space on /dev/vda2 is immediately ready for use without any need to reboot.